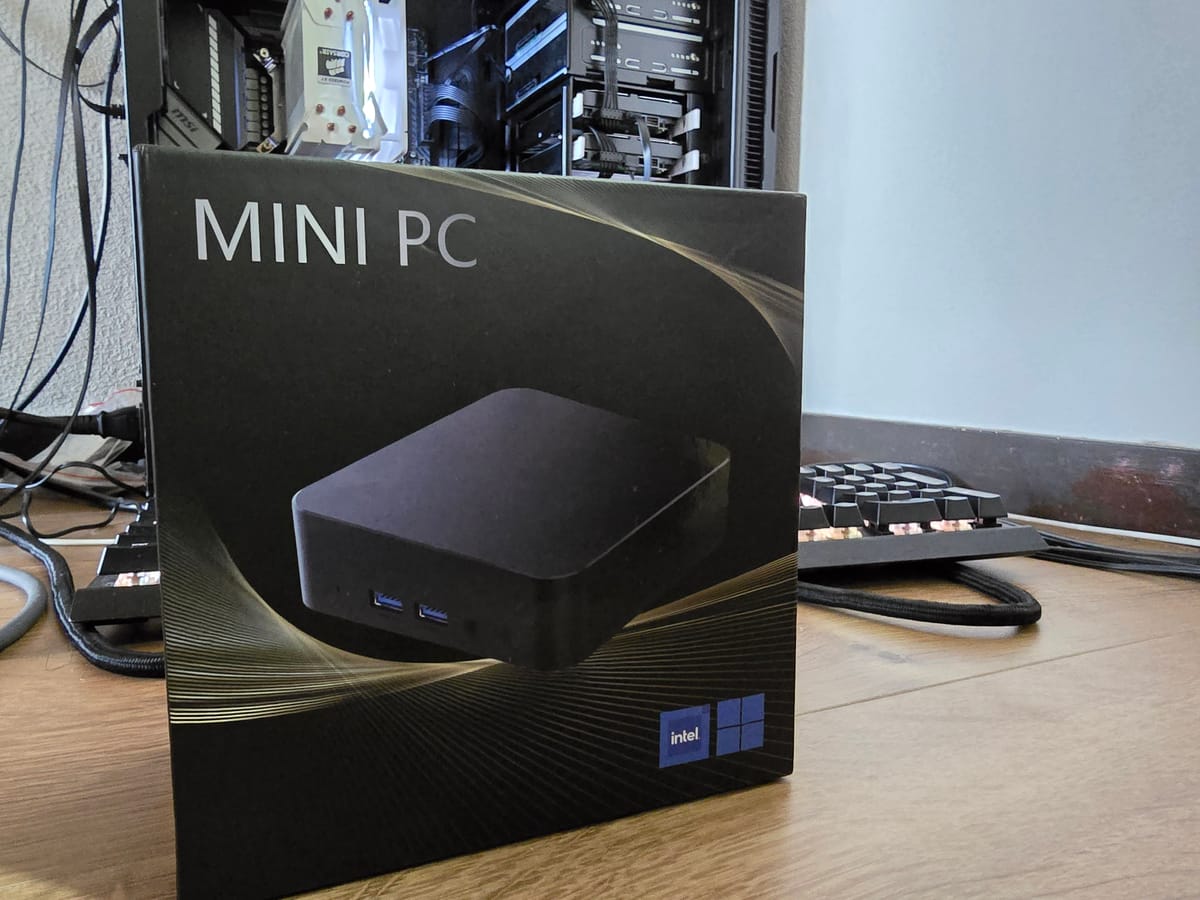
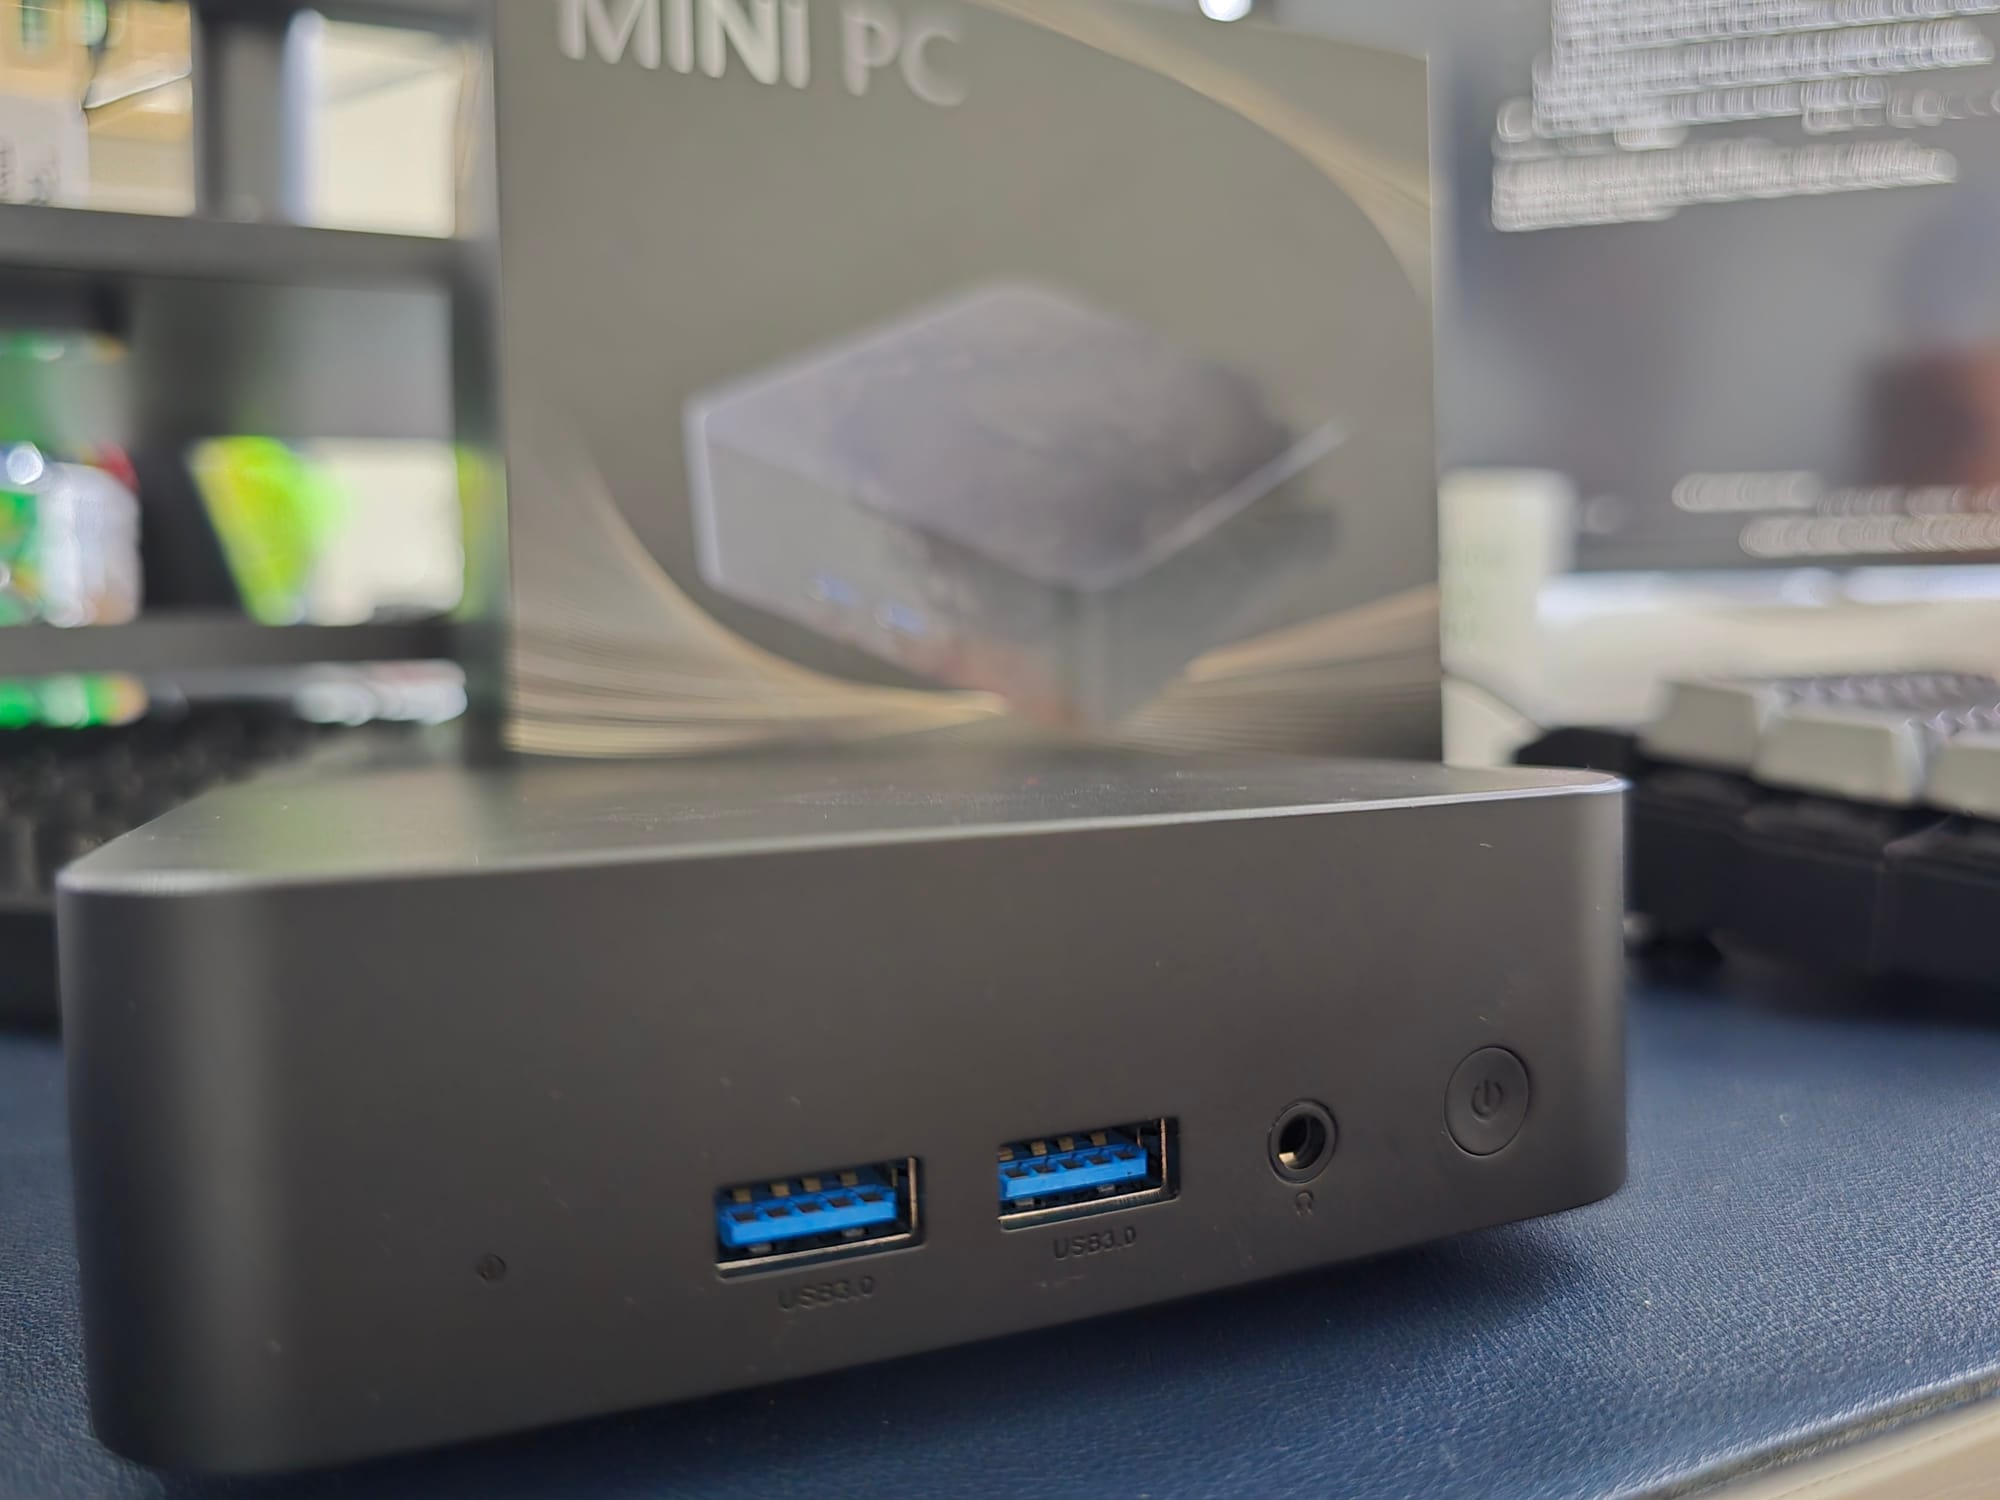
New Intel N100 mini PC added into my inventory! And my debut to Proxmox!
Lately, I’ve been looking for a lightweight, low-power machine to complement my main NAS/server. The goal is to offload certain tasks like monitoring and management, and potentially host a firewall to segment and protect my network better.
Why add Another Machine?
While my main NAS (formally my gaming rig) handles all the workloads I use. And I realized:
- It should not be responsible for monitoring itself. (Especially when it shutdown accidentally, obviously)
- I want a more modular and fault-tolerant setup for my home network.
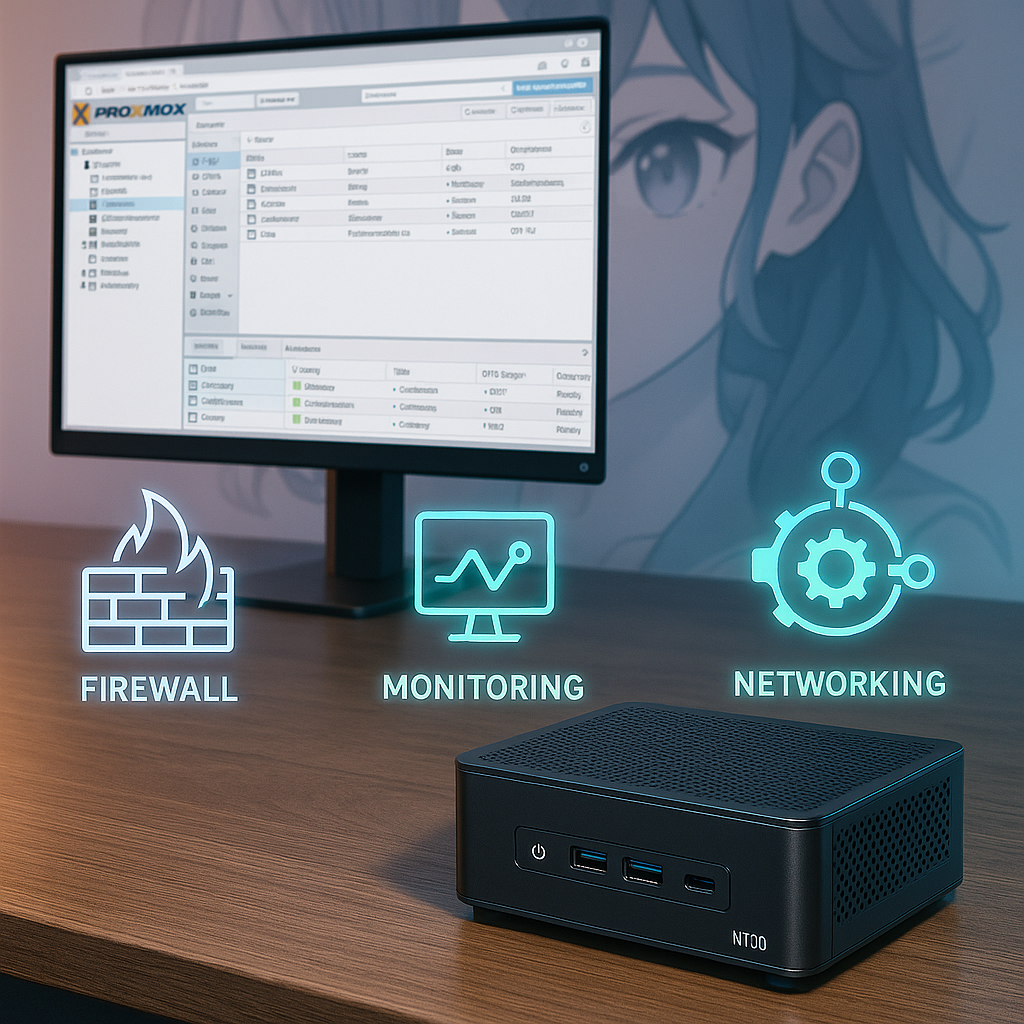
That's where my new Intel N100 mini PC comes into play. It is power-efficient (only 35 watts in full load), and still powerful enough to handle VMs for services like OPNsense, monitoring dashboards, or even a small GitOps CI/CD agents.
Choosing Proxmox VE
Talking about VMs, you can't miss Proxmox Virtual Environment (PVE).
There are a few reasons I chose PVE:
- It’s free, open-source, and battle-tested for virtualization.
- It lets me easily create and manage Linux containers (LXC) or full VMs.
- I can snapshot VMs, manage backups, and control resource allocations.
- It’s perfect for experimenting with stacks like monitoring, automation agents, or isolated test environments.
Installing Proxmox on the N100
The installation was straightforward, but here's a quick walkthrough for anyone curious:
- Prepare the ISO:
- Boot from USB:
- Go to BIOS by pressing
Delwhen booting (depends on the machine, sometimes it'sF2) - Select USB as primary boot drive, and disable secure boot and fast boot.
- Plug the USB into the N100 and boot into the installer.
- Proxmox’s installer is very user-friendly. I just selected my NVMe SSD, set hostname, timezone, and network settings.
- Go to BIOS by pressing
- Static IP Configuration:
- After install, I made sure to give it a static IP (e.g.
192.168.10.50) so I can always reach the web UI (https://192.168.10.50:8006).- Pro tip: The IP should be similar to the router's IP (like
192.168.10.xxx) to make sure it is in the same subnet.
- Pro tip: The IP should be similar to the router's IP (like
- After install, I made sure to give it a static IP (e.g.
- Post-install tweaks:
- Disabled subscription popup using a small patch.
- I followed the setups here to do it.
- Disabled subscription popup using a small patch.
What's Next?
I am planning to run Firewall with OPNsense on it, and migrate my monitoring stacks from my main server.
After that, I want to centralize all the managements through automations like GitHub Actions and ansible.
These should be quite exciting to play with!
Final Thoughts
The N100 mini PC might not be a powerhouse, but in the world of home labs, it’s the perfect utility node. With Proxmox running on it, I can safely experiment and scale my infrastructure — without disturbing my main server.
If you're building a home lab or want to start playing with network segmentation and service monitoring, I highly recommend picking up a similar low-power device and trying Proxmox!
But until then, see you next post!